# 云胡的编程周报第 013 期
时间:2023/11/6 - 2023/11/12
# 一、点滴记录
# 1
Python 可以用 flask 做后端通过接口提供功能,Spring Boot 可以用 WebClient 去调用接口,实现服务之间的分离,可扩展性较好,也可以通过执行本地 Python 脚本的方式,具体选择哪一种方式要看业务的场景。
# 2
Python 导入模块规范:
- 标准库模块
- 相关第三方库模块
- 本地应用程序模块
每种类别空一行。
# 3
在终端中运行 curl 命令时记得对 url加上引号,如果不加引号,此时 url 中又有 &来作为多个参数的分隔,bash会将 &理解为用于在后台运行命令,可能会出现意料之外的结果。
curl "http://192.168.2.2:8080/getUserInformation/?login_status=true&path=/home/yunhu/"
# 4
Spring Boot 使用 ProcessBuilder 执行带有参数的 Python 脚本。
public String executePython() throws IOException, InterruptedException {
    // python 解释器路径
    String pythonInterpreterPath = "C:\\ProgramData\\anaconda3\\envs\\tensorflow2\\python.exe";
    // python 脚本位置
    String pythonDetectPyPath = "D:\\YunhuCodeProject\\PythonProject\\face-recognition\\detect.py";
    String pythonArgs = "D:\\YunhuCodeProject\\PythonProject\\face-recognition\\test_faces\\TestXiaoYangGe\\";
    Process proc;
    try {
        ProcessBuilder processBuilder = new ProcessBuilder(pythonInterpreterPath, pythonDetectPyPath, pythonArgs);
        // 将标准输出和错误输出合并
        processBuilder.redirectErrorStream(true);
        proc = processBuilder.start();
        InputStreamReader fileInputStream = new InputStreamReader(proc.getInputStream(), StandardCharsets.UTF_8);
        if (Objects.nonNull(fileInputStream)) {
            String line = null;
            BufferedReader reader = new BufferedReader(fileInputStream);
            StringBuilder output = new StringBuilder();
            String face_label_result = "";
            while ((line = reader.readLine()) != null) {
                System.out.println(line);
                output.append(line).append("\n");
            }
            // waitFor是用来显示脚本是否运行成功,1 表示失败,0 表示成功,还有其他的表示其他错误
            int re = proc.waitFor();
            if (re != 0) {
                log.error("运行 Python 脚本失败");
            }
        }
    } catch (IOException | InterruptedException e) {
        e.printStackTrace();
    }
    return "";
}
2
3
4
5
6
7
8
9
10
11
12
13
14
15
16
17
18
19
20
21
22
23
24
25
26
27
28
29
30
31
32
33
# 5
使用 pip 安装第三方库的时候很慢,可以临时设置清华源来提速,但又会有 SSL 验证失败的情况,因此需要在命令上添加绕过 SSL 验证,加入我们要安装 opencv-python这个第三方库,那么总的命令如下:
pip install -i https://pypi.tuna.tsinghua.edu.cn/simple opencv-python --trusted-host pypi.tuna.tsinghua.edu.cn
-i用于指定的软件源路径,而不是用原生,这边我们用清华源。--trusted-host用于指定信任的主机,就可以绕开SSL验证
也可以将默认的软件源改成清华源
pip config set global.index-url https://pypi.tuna.tsinghua.edu.cn/simple
使用以下命令查看默认的软件源
pip config get global.index-url
# 6
我的腾讯云服务器上装的 MySQL 版本是 8.0,它的默认身份验证插件是 caching_sha2_password,这个插件使用 SHA-256 加密方式来做身份验证,它有内存缓存机制,之前连接过的用户再连接时可以更快进行验证,但是它有一个问题,那就是旧的客户端或者应用程序可能会无法连接,它们可能会不支持这种加密方法。
解决方式:更改身份验证插件
登录到
mysql中更改身份验证插件
ALTER USER 'username'@'%' IDENTIFIED WITH mysql_native_password BY 'password';1刷新权限
FLUSH PRIVILEGES;1
# 7
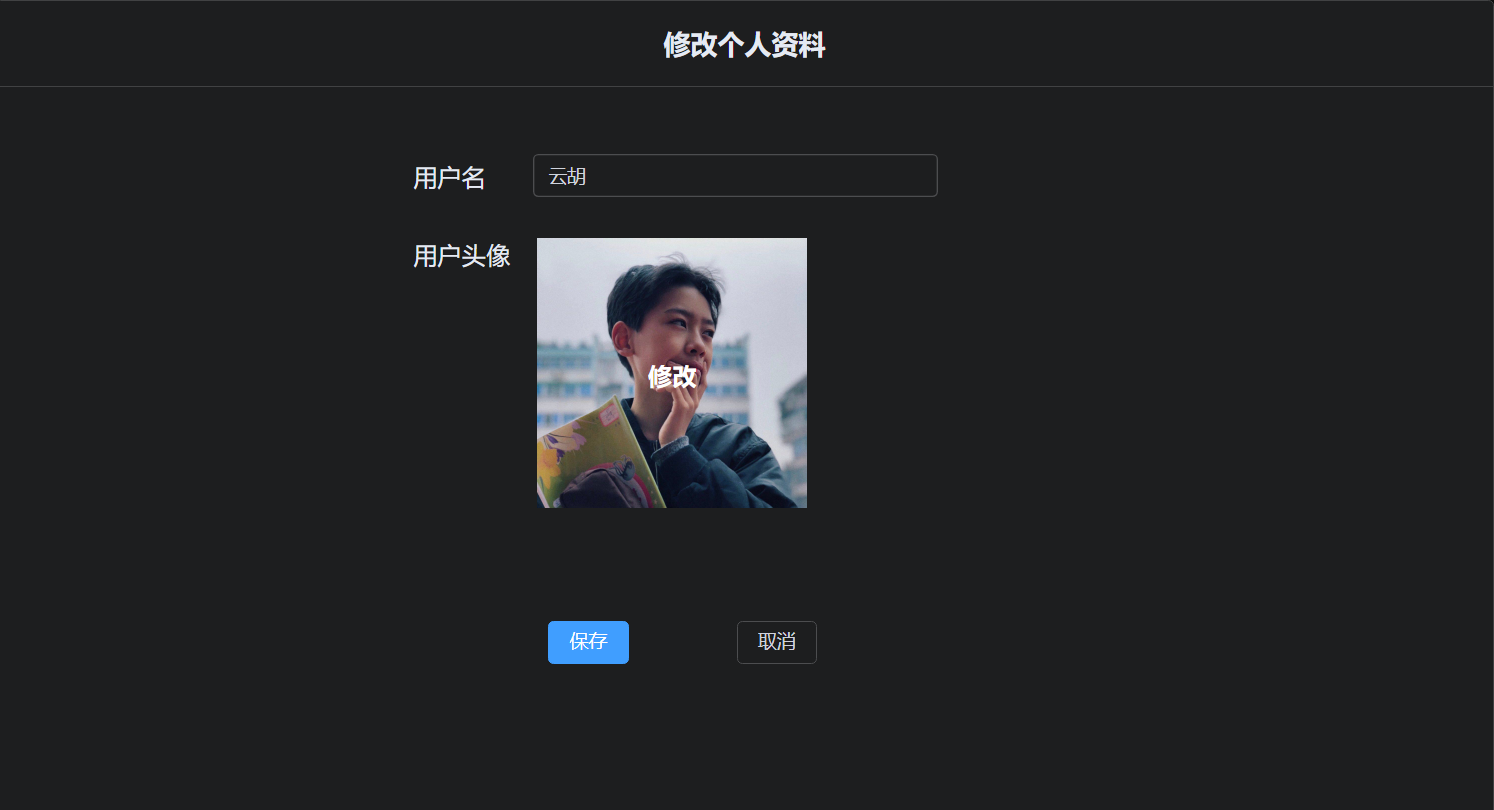
给「云胡图书馆」加上更改用户名和头像功能
使用 Element Plus上传头像时,action 直接是后端地址,这种方式不会默认带上 token,因此需要手动在请求头上带上验证信息,:headers="{ Authorization: 'Bearer ' + currentToken }"。
<el-upload
  class="avatar-uploader-class"
  action="http://127.0.0.1:8090/app/user/updateUserInformation"
  :headers="{ Authorization: 'Bearer ' + currentToken }"
  :show-file-list="false"
  :on-success="handleAvatarSuccess"
  :before-upload="beforeAvatarUpload">
  <div class="center-content">
    <div class="overlay-container">
      <img v-if="imageUrl" :src="imageUrl" class="avatar" />
      <div class="overlay-text">修改</div>
    </div>
  </div>
</el-upload>
2
3
4
5
6
7
8
9
10
11
12
13
14
:before-upload是上传前的钩子函数,可以在上传前检查图片格式和大小。
/**
 * 上传头像之前,检查图片格式和大小
 */
const beforeAvatarUpload = (rawFile) => {
  if (rawFile.type !== 'image/jpeg' && rawFile.type !== 'image/png') {
    ElMessage.error('头像必须是图片格式');
    return false;
  } else if (rawFile.size / 1024 / 1024 > 5) {
    ElMessage.error('头像不能大于 5 MB');
    return false;
  }
};
2
3
4
5
6
7
8
9
10
11
12
:on-success是上传成功后的钩子函数,在后端返回头像地址后,渲染到页面上。
const handleAvatarSuccess = (res, file) => {
  if (res.data !== null && res.data !== '') {
    imageUrl.value = res.data;
  }
};
2
3
4
5
# 8
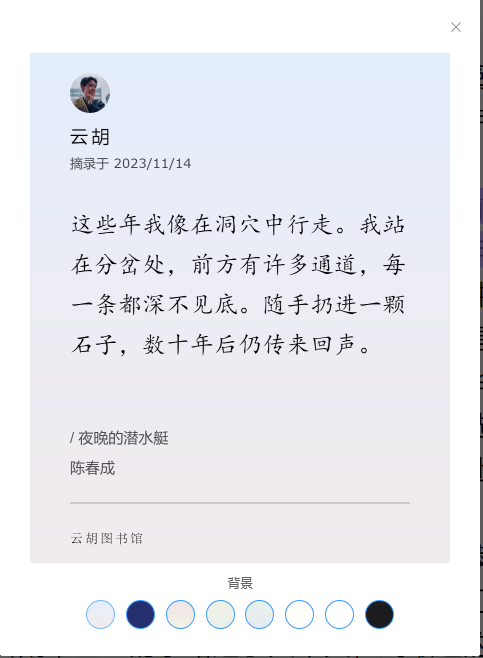
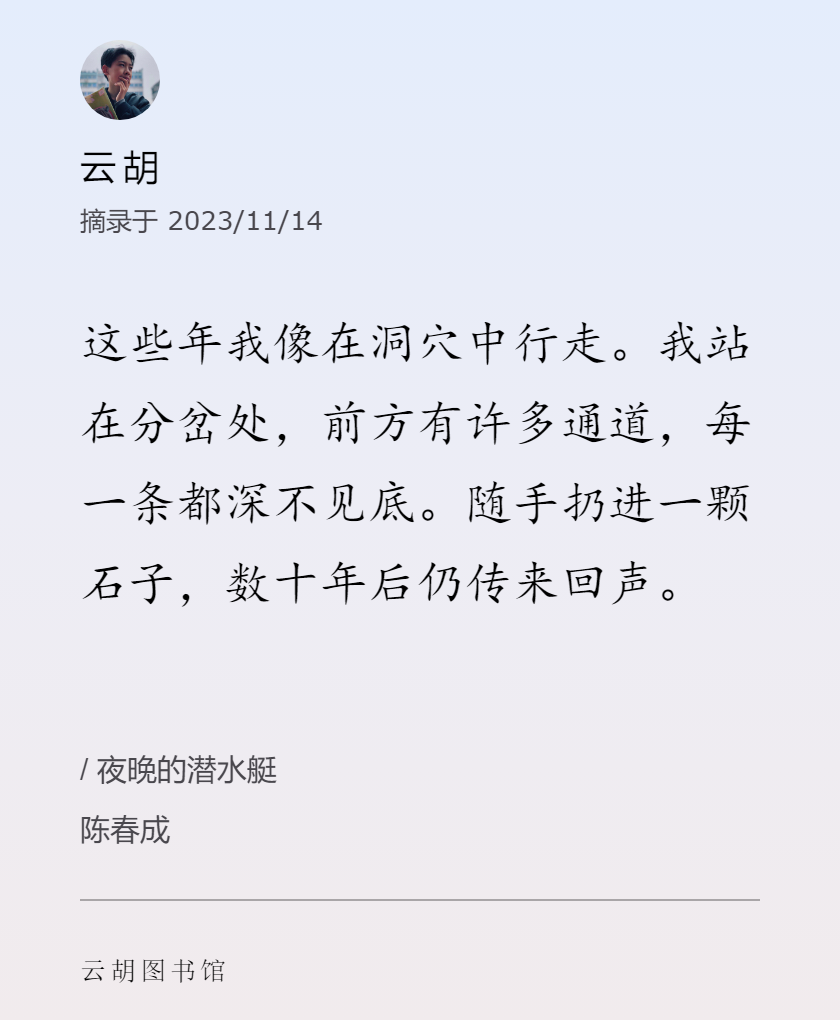
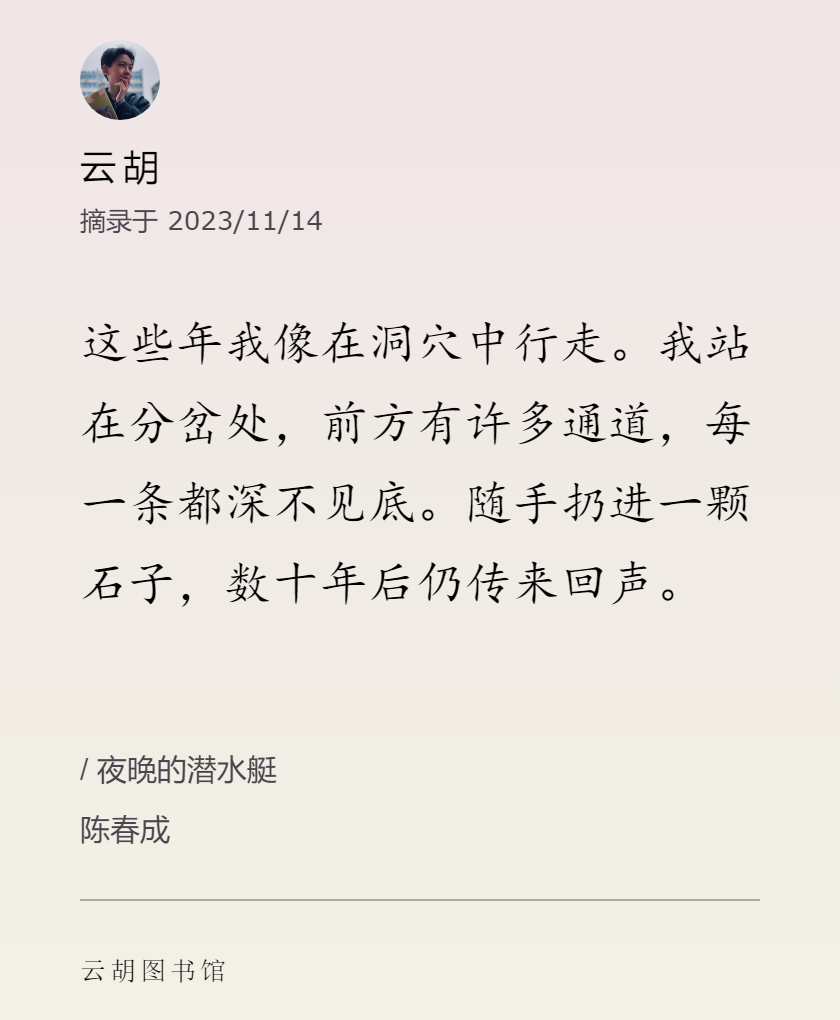
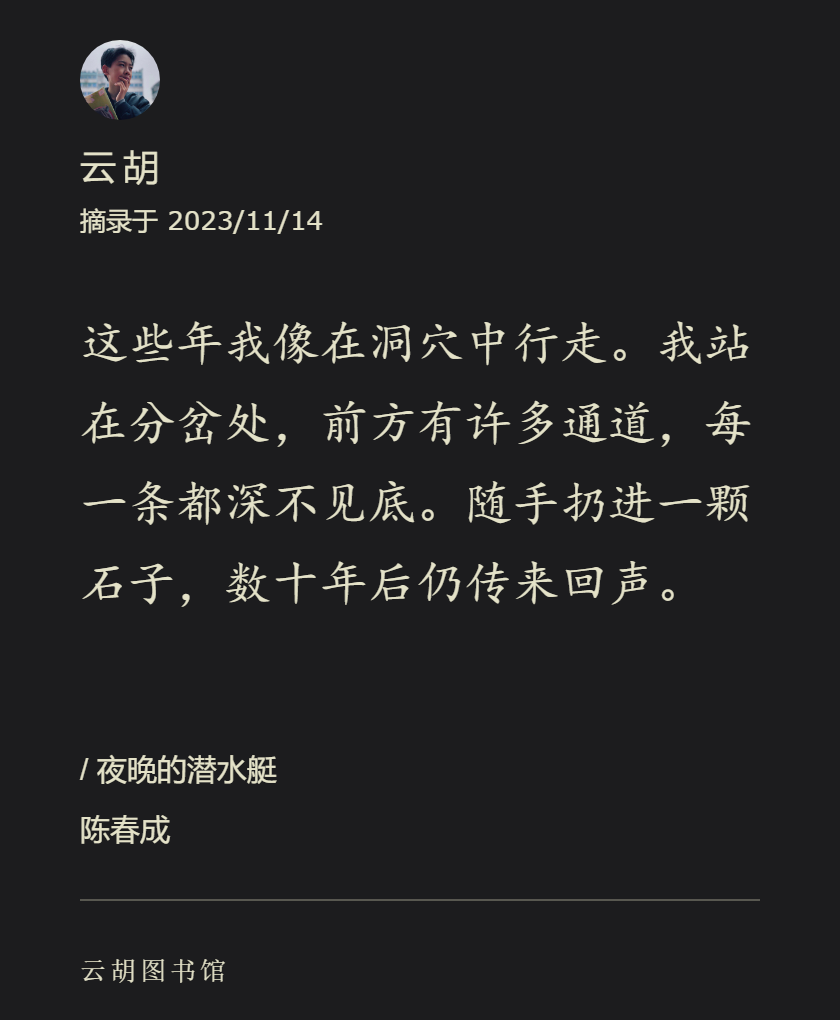
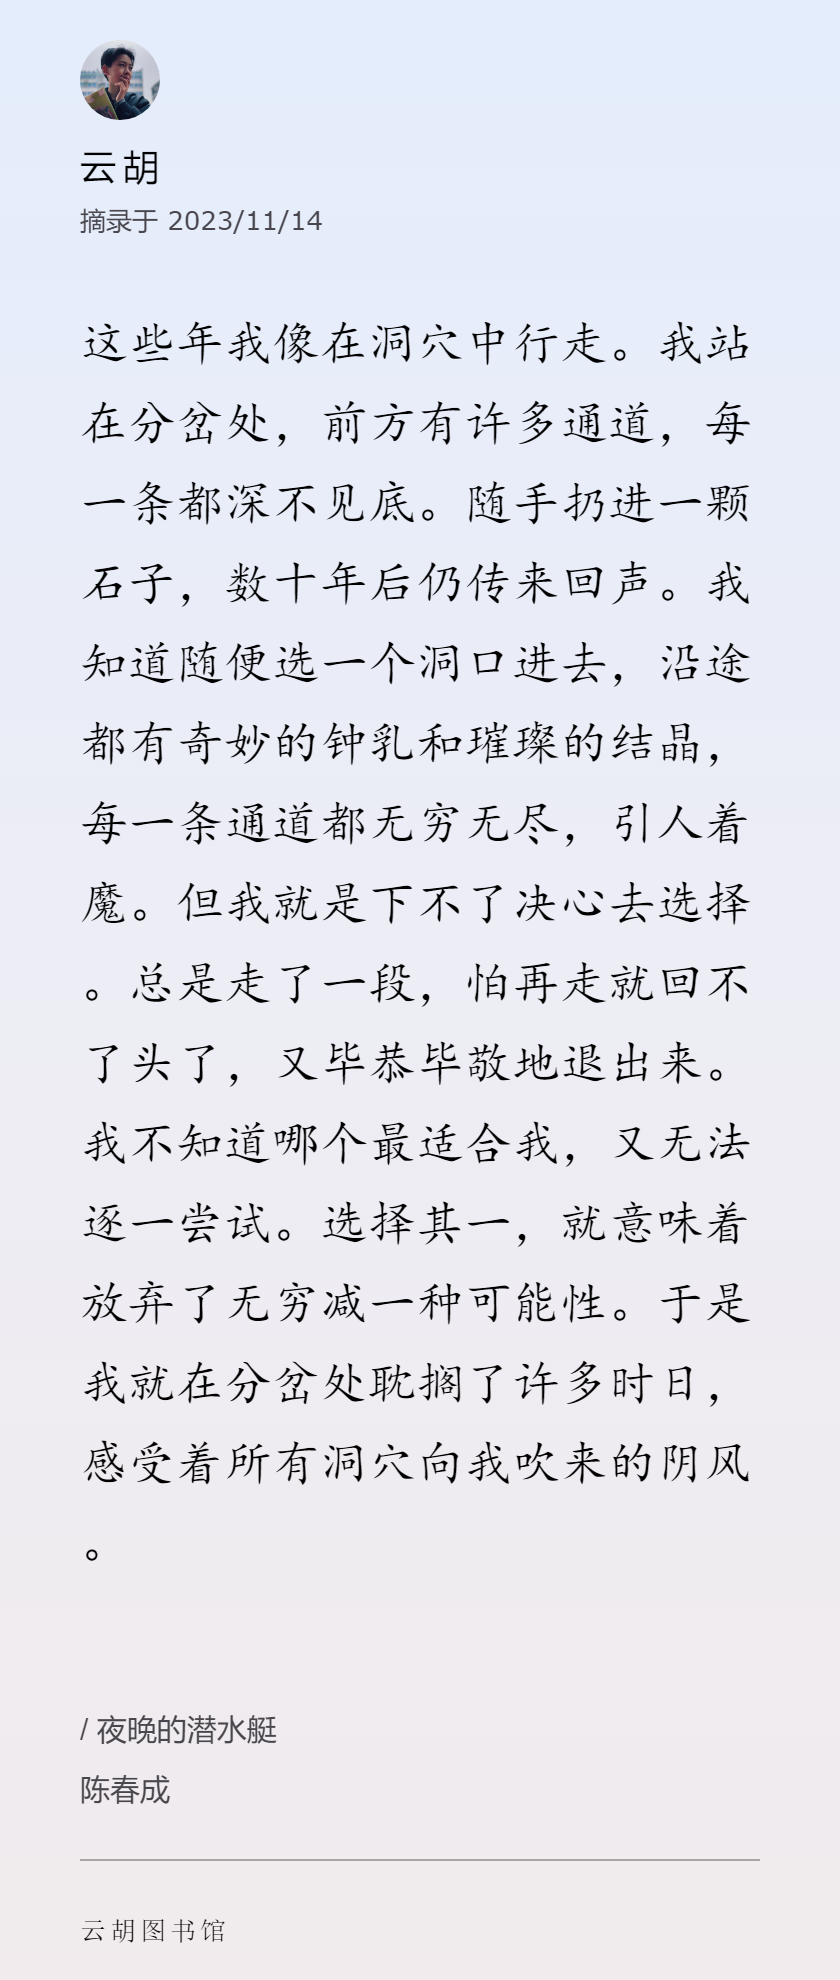
给「云胡图书馆」的分享书摘功能美化和增加文本高度自适应以及切换背景。
实现的过程中遇到了两个问题。
- 原来只有一个背景,我增加了
7个,现在总共有八种背景,更改背景的实现原理很简单,就是重新绘制背景色和文本内容,如果字体颜色需要改变,那么也跟着变化就行。
一切都很正常的时候,发现重新绘制头像一直有问题,后面发现头像是通过 canvas 裁剪出来的圆形区域,浏览器会将之后的绘图操作限制在那个裁剪的圆形区域内执行,因此需要在绘制头像后取消裁剪区域,才能达到我们想要的效果。
在裁剪前保存状态 save(),在 clip()裁剪之后使用 restore() 恢复之前的状态。
image.value.onload = () => {
  // 设置圆的属性
  // 圆心的 x 坐标
  // 圆心的 y 坐标
  let centerX = 60;
  let centerY = 40;
  // 圆的半径
  let radius = 20;
  currentCtx.value.save();
  // 开始创建圆形路径
  currentCtx.value.beginPath();
  currentCtx.value.arc(centerX, centerY, radius, 0, 2 * Math.PI);
  currentCtx.value.closePath();
  // 裁剪出圆形区域
  currentCtx.value.clip();
  currentCtx.value.drawImage(
    image.value,
    centerX - radius,
    centerY - radius,
    2 * radius,
    2 * radius
  );
  currentCtx.value.restore();
};
2
3
4
5
6
7
8
9
10
11
12
13
14
15
16
17
18
19
20
21
22
23
24
- 书摘文本高度自适应问题
思路是每一次用户点击分享书摘,都要计算一下文本的高度,然后通过这个高度重新设置 canvas 画布的高度,由于书摘图片还包括头像、用户名、摘录时间、书名、作者名、分割线、云胡图书馆标志,因此画布的高度还要再加上一些,我这边设置了 700。
我在处理的时候,发现高度存在问题,老是覆盖到书名作者名那边了。
由于存在高分屏 canvas 模糊的问题,必须对绘图进行放大,放大后的 canvas计算字符的宽度也会变大,导致行数变多了,因此就把底下的书名和作者名覆盖了,我通过放大前字符宽度的比例和一行文本的最大宽度比例进行对应,从而解决这个问题。
我现在很喜欢这个分享书摘功能,可以把自己想看的并且微信读书中没有的书导进来,然后也可以分享书摘自己保存或者给朋友看。
# 二、发现
# 1
Python 3.12.0 中文文档
https://docs.python.org/zh-cn/3/ (opens new window)
# 2
Flask 中文文档
https://dormousehole.readthedocs.io/en/latest/index.html (opens new window)
# 3
Flask 入门教程